
If you are a food blogger, you will surely spend quite bit of time in photography. I do that a lot. I surely not an expert in photography but I am trying to learn from fellow bloggers, photography books and my friends. For any picture to look great background makes a major role. It surely helps to set the mood of the photograph.
How many of you wonder looking at amazing pics in few blogs wondering how did they get that wonderful background? I was one of them. Luckily found Yadsia's blog Shop Cook Make where she demonstrated how to make your own inexpensive wooden table top. Thank you Yadsia.
I did not follow the steps exactly. With few variations made my own wooden boards for my photography.
Here are the steps which I followed.
Tools/Items needed:
I got wood shims from home depot $4.50 each pack (1 pack contained 34 pieces. I bought 2 packets),
Wood glue - $4.50
Brush -(98 cents)
Sample white paint ($2.50)
Acrylic paints (I found few from my storage) ( If you do not have you can buy from any craft store for $1)
News paper or old cloth to work on.
Total cost =$20-- Made 3 table tops. (Different shades for each side so totally i got 6 table tops )

Step 1.
Lay old cloth or news paper to protect your floor while making this table.
To make a square shaped table top take 12 shims arrange side by side.
FYI -- Wood shims which i got from Home Depot were one side thick other side very thin. First I was worried that these won't work but managed to make it work by arranging shims in the same direction (Thicks on the same side).
Step 2.
Apply glue.
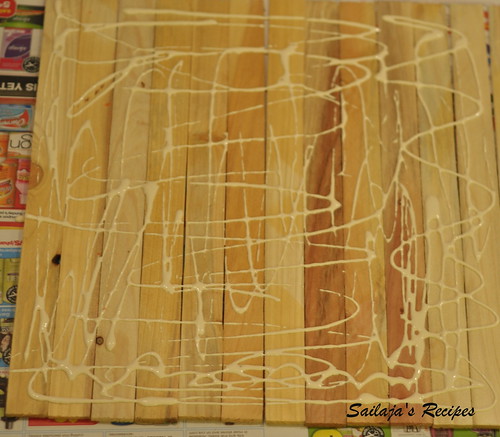
Step 3
Take 12 more shims arrange on top of the glue in opposite direction. Place some heavy books on top of this table. Leave it over night.(Till glue dries)

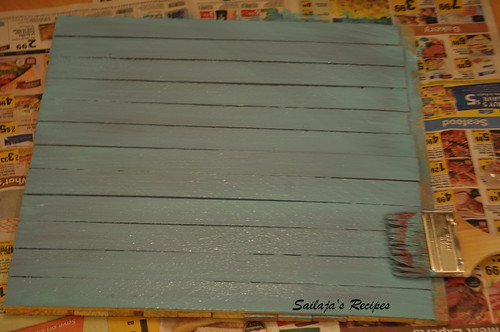
Step 4
Now you are ready to paint. Pick whatever the color you want and paint.

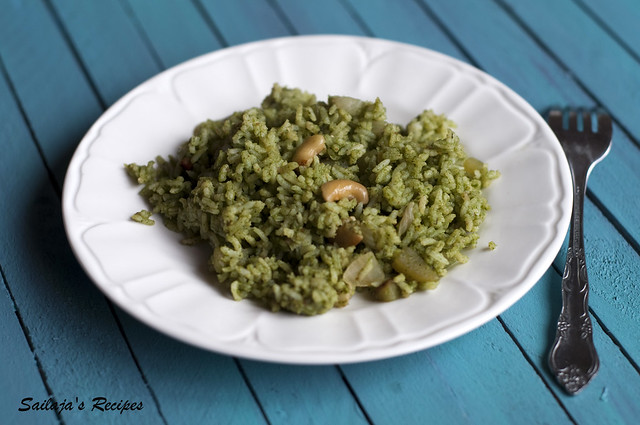
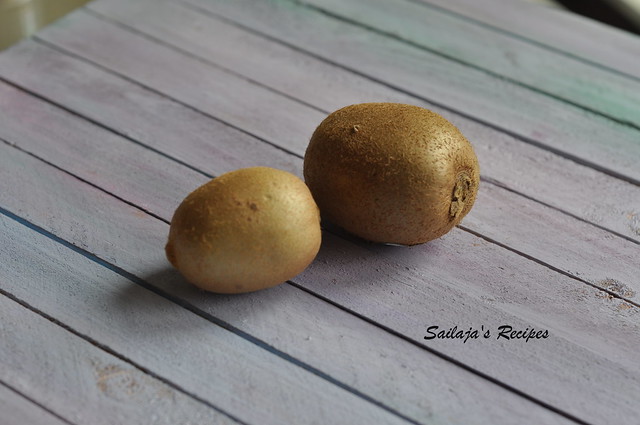
Here are the pics with my board.
If this post helped you to make your own table top please share your pics. I would love to see your creation.


Your step 2 looks much easier than my way of applying the glue haha. Next time I'll do that! I'm glad it worked out for you. I love the turquoise color you used.
ReplyDeleteThat is such an excellent idea, love it.
ReplyDeletevery cool sailaja, I always wanted to create one with crackled look, any idea how to create one
ReplyDeleteThanks everyone, Sridevi, You can try getting the crackled shims from Home Depot or Lowes.
ReplyDeleteGreat idea. Thanks for sharing.
ReplyDeleteLooks really awesome, so perfectly done......
ReplyDeletemaha
Hello,
ReplyDeleteThis is the first time I am in your space. You have created something very cool, Nice!. Thanks for the nice comment in my blog. I am following your blog.
wow that is such a fab idea, im waiting for summer so i can do some wood painting like this
ReplyDeleteVery nice idea!!!
ReplyDeleteThanks for the tips! I've been working on antiquing a table but I still want a few more colours. I'll be making these soon and will let you know how they turned out.
ReplyDeleteDrafting with style! Get the best deals on Antique Drafting Tables when you shop the largest online selection at home decor.
ReplyDelete